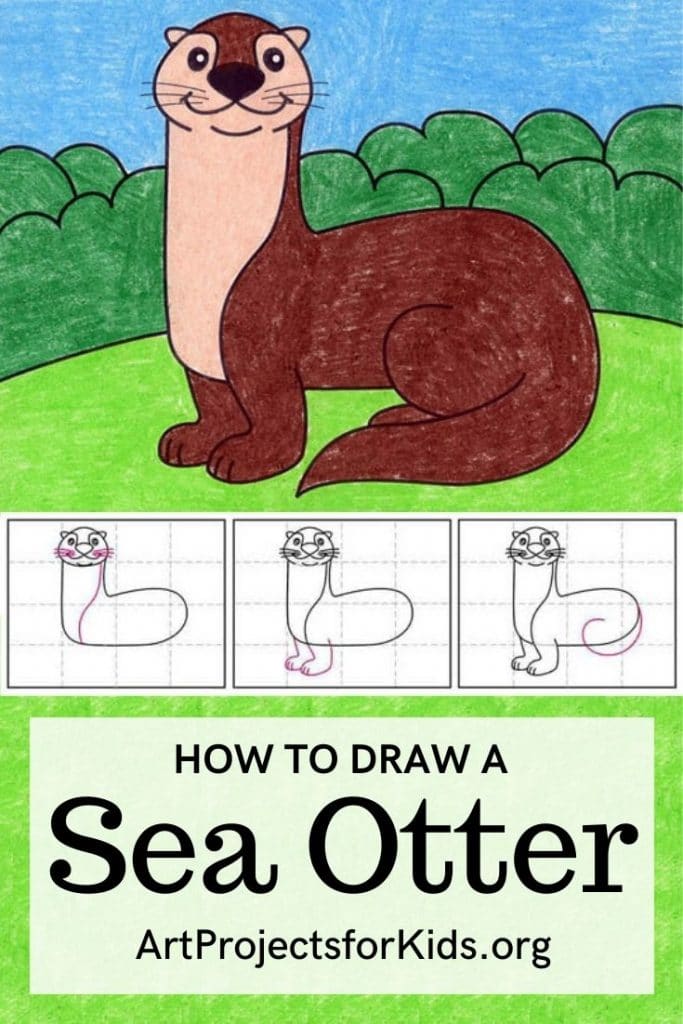
How to Draw an Easy Picture of a Sea Otter
Learning how to draw a Sea Otter gets easy when you start with a step by step tutorial. This one shows what a cute otter looks like out of the water.

Sea otters are pretty amazing animals. Here are a couple of fun facts that kids can think about as they work on their drawing.
One is that sea otters have the thickest fur of all marine mammals. They have an estimated one million hairs per square inch, as opposed to humans that have about 100,000 per square inch on our heads. They have no blubber on their bodies to give them insulation, so they rely on their fur to keep warm.
The second is that the otter is one of the few mammals that uses tools. A sea otter's tool of choice? Typically it's a rock that can be used as a hammer or anvil to break open sea urchins or other hard-shelled prey. They have a loose patch of skin under their armpit to store both the food they've foraged and their rock to crack it open.
Although sea otters spend most of their lives in water, this tutorial shows one standing on the ground so you can see how the legs and tail are shaped.
Getting Started with Drawing Guides
The best way to get young artists off to a good start to any drawing project is with the help of drawing guides.
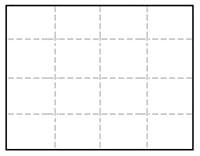
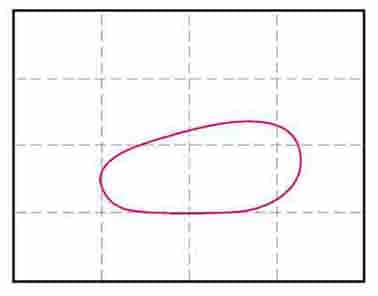
You may have noticed that there is a grid of three dashed lines, both in horizontal and vertical directions, on every step of this tutorial. If students make theirown centered lines on theirown paper, before drawing, they will have an easy reference to follow.
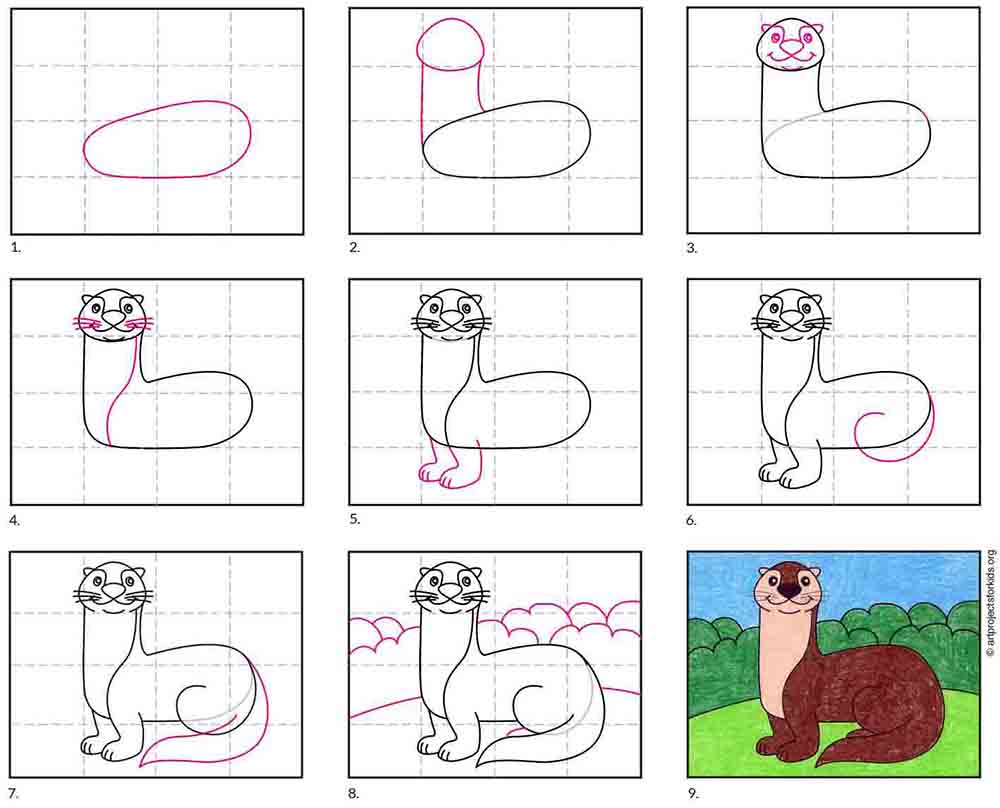
For instance, as seen in Step 1 below, the sea otter body shape starts with an oval that sits in thethird line down of the paper. It touches the left most line and overlaps the right one just a bit.
Drawing skills are all about getting the size and placement of lines on paper, so having some visual reference point to get started, will always help anyone learn how to be a little more accurate.
So does that mean students need to draw a big fat pencil lines one their sheet of paper before they start? Goodness no, please don't! That will most likely be hard to erase and distract from any finished art. No, simply fold the paper in half twice , both ways , make a crease, and unfold. The beauty is that by the time the drawing is done and colored in, the creases made for these guidelines will disappear.
And now, on to our sea otter drawing project.
Use the Button below to Download a PDF Tutorial
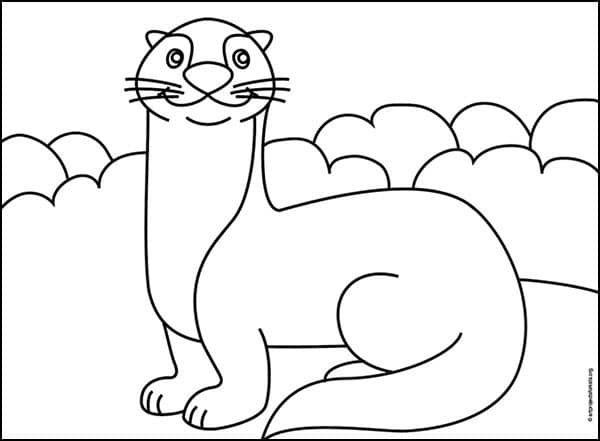
New! Coloring Page Gallery
Materials for How to Draw an Easy Sea Otter

- Black Sharpie Marker (affiliate link)

- Prang Crayons (affiliate link)
- Crayola Crayons (affiliate link)
Step by Step Drawing Tutorial for an Easy Sea Otter
Time needed:45 minutes.
How to Draw an Easy Sea Otter
- Draw an egg shape laying on its side.
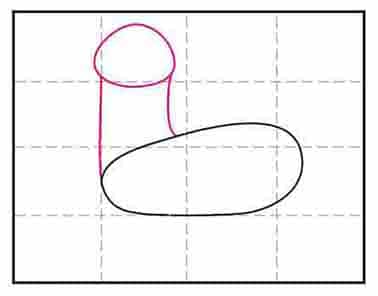
- Add a round head and connect with a neck.
- Erase inside line and draw the face and otter's ears.
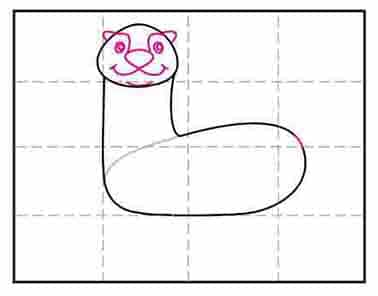
- Draw the whiskers and neck line.

- Erase chin line and add two front legs.
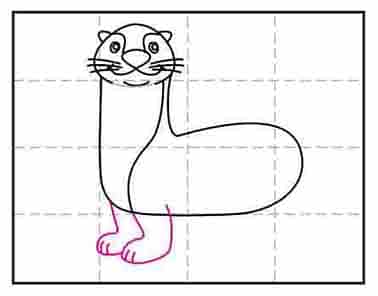
- Erase inside leg line and start part of the back leg.

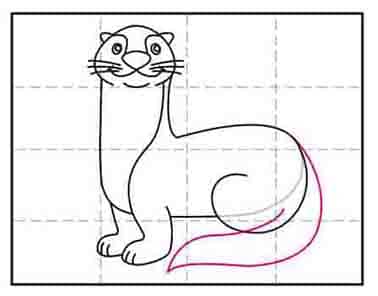
- Erase inside line and draw the sea otter's tail and foot.
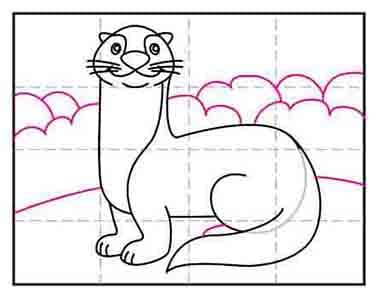
- Erase inside tail line and add a background.
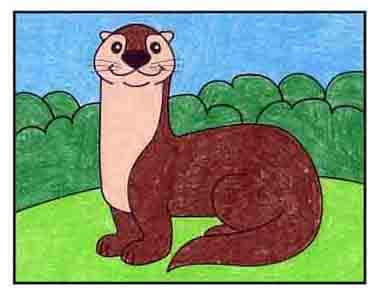
- Trace with a marker and color with crayons or colored pencils.
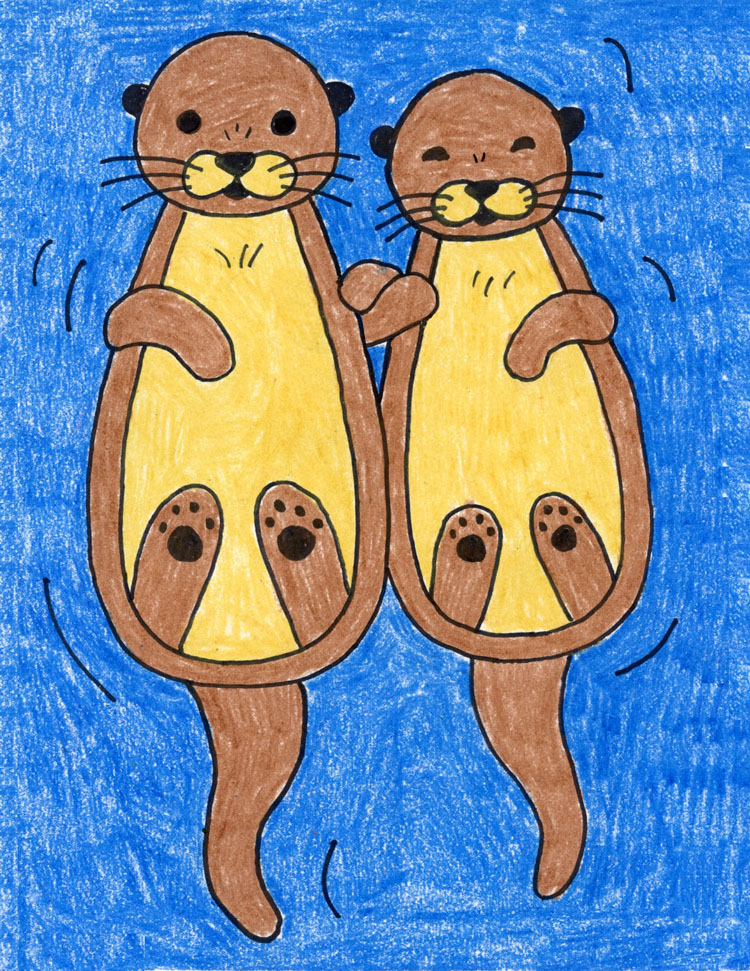
More Sea Otters to Draw
Source: https://artprojectsforkids.org/how-to-draw-a-sea-otter-easy/
0 Response to "How to Draw an Easy Picture of a Sea Otter"
Post a Comment